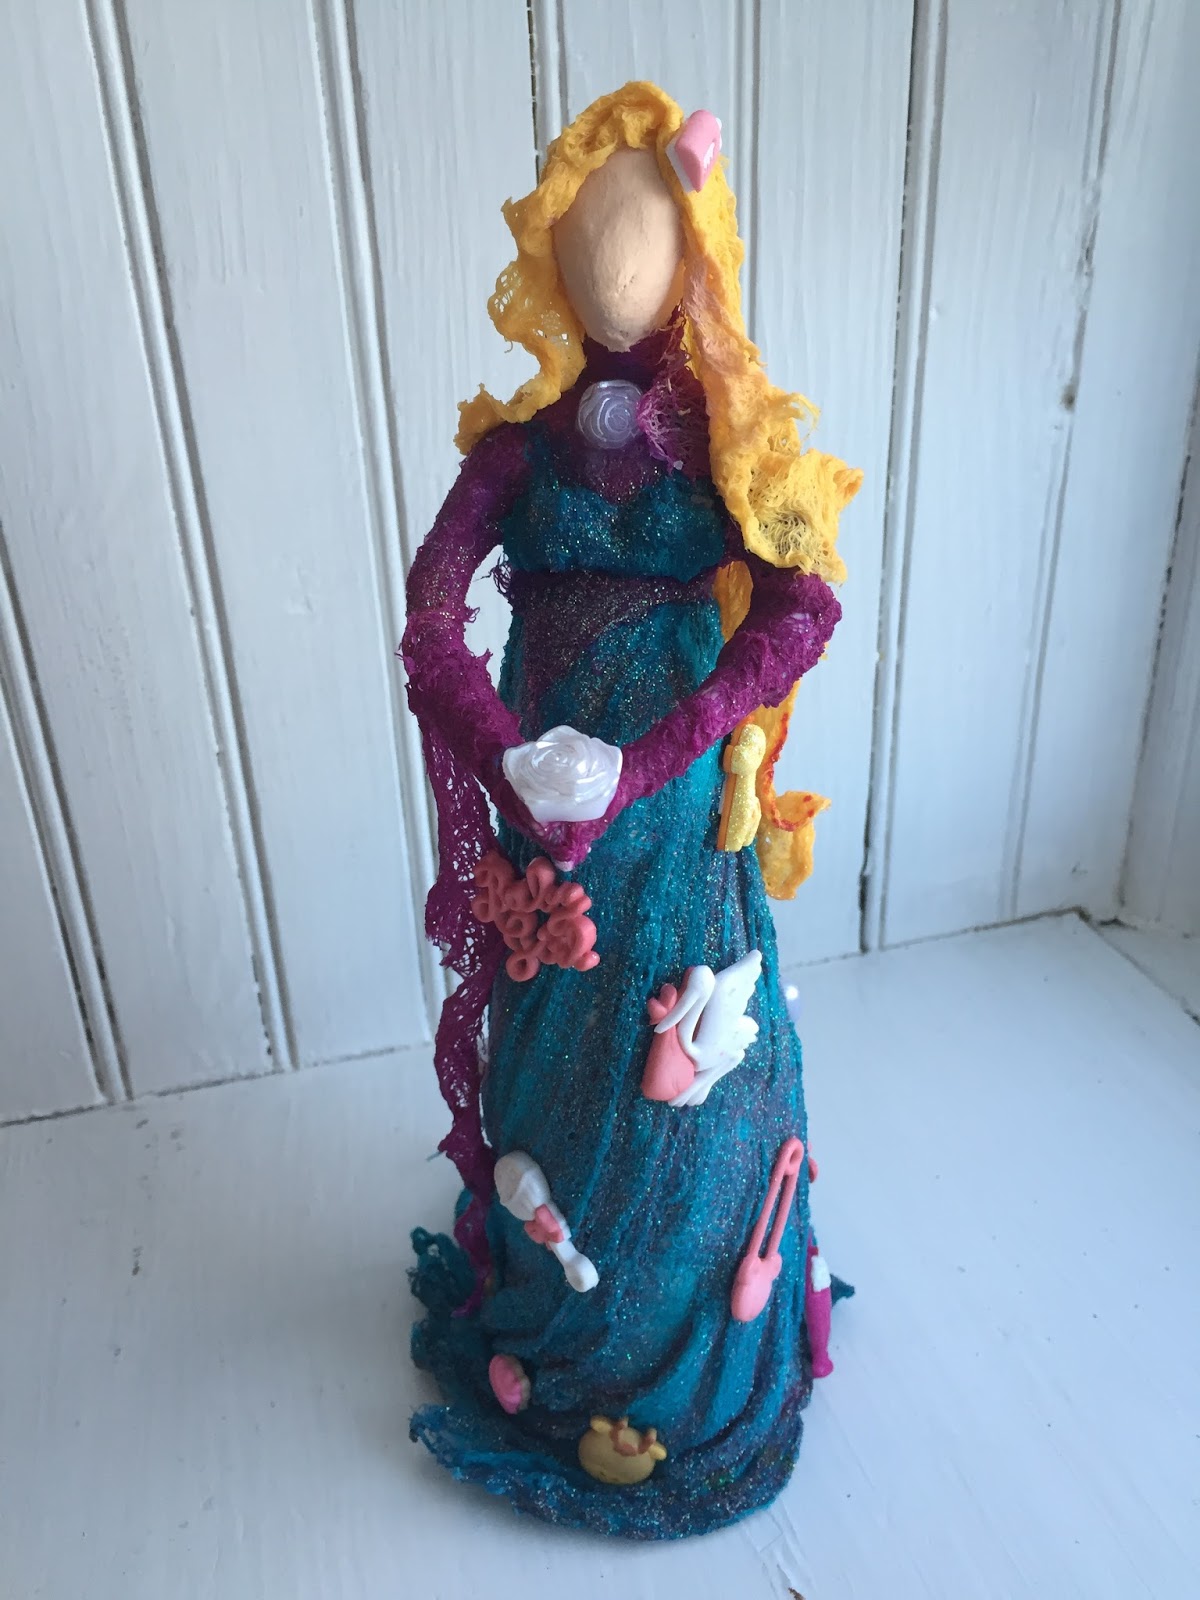
Expecting Mom Paverpol Art Doll
By Gloriann Irizarry
Material List
Paverpol Clear®
Creative Paperclay®
Sparkling Apple Cider Glass bottle
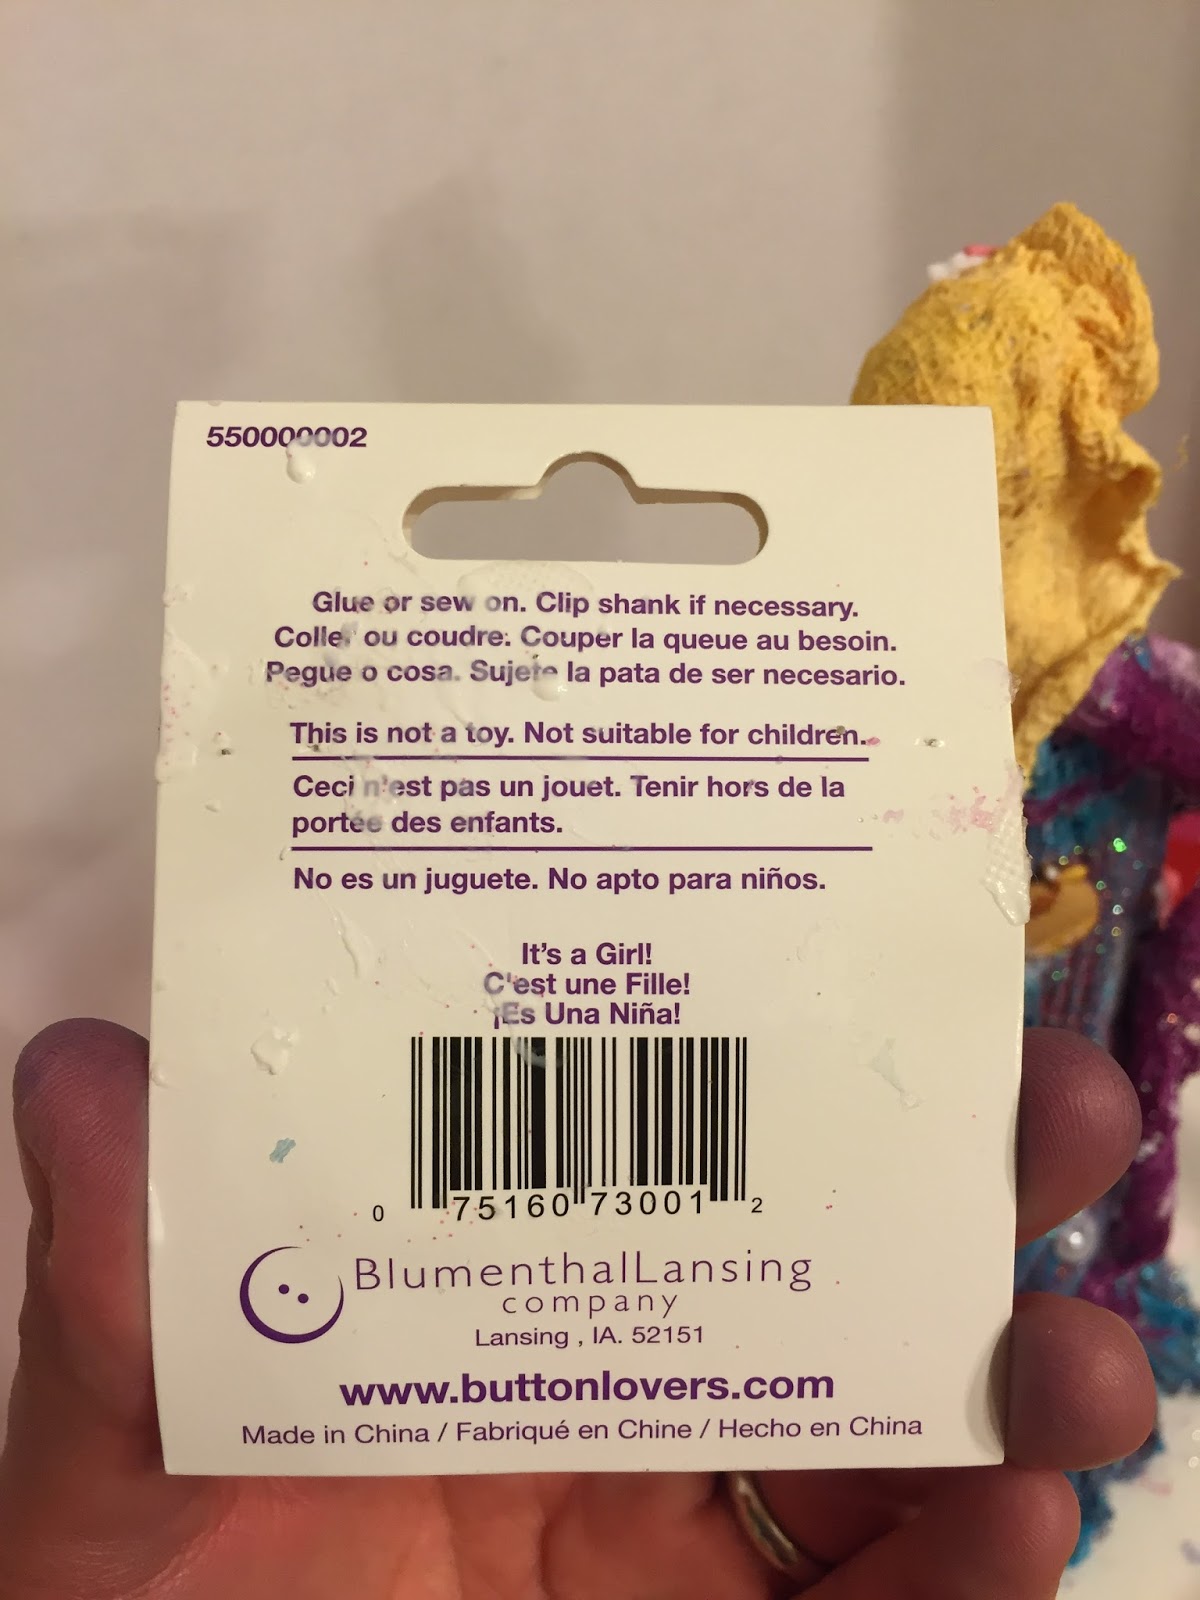
Its a Girl Buttons and Findings
Paverpol Cotton Fabric
Cheese Cloth Fabric
Rit Aquamarine Dye
Rit Fushia Dye
Aluminum Foil
Scissors
Wooden Dowels
Stainless Steel Wire 16g
Martha Stewarts Pink Glitter
Needles
Thread
Start with a clean and empty glass bottle. It can be any of your favorite drink has long it has a long neck and is made out of glass. For this project I use a small apple glass cider bottle. Feel free to choose your size. The bottle size will determine the size of your project art doll.
Open the package of Creative Paperclay® and roll it to a 1/4 thickness sheet.
Cover the entire empty glass bottle with the 1/4 thick rolled out Creative Paperclay® sheet.
Insert the wooden dowel to support the upper part of the doll. Set aside to dry.
so we do not waste to much material on the upper part of the doll body or make it too heavy of a piece lets make an simple armature. Cut strips of aluminum foil.
Cutting strips make it a lot easier to add to the wooden dowel.
Start wrapping them to the wooden dowel so the upper portion of the art doll start taking place.
Cut only one piece of stainless steel wire to the desire length for your doll hands.
Then roll it like show in this photo to secure it with the wooden dowel.
Insert in the dowel and tighten secure with the pliers.
Use more aluminum foil strips to complete the shape of the chest.
Add more aluminum foil around the shoulders and create the head.
Add more aluminum strips around the belly portion too to mold and shape the doll pregnant belly.
Roll the Creative Paperclay® in to 1/4 thickness sheets and cover all the aluminum foil shapes.
Set the art doll aside to dry.
Add another sheet of Creative Paperclay® to carefully cover any expose foil.
Check the figure for any cracks or exposes areas and once more cover the piece with more Creative Paperclay®. Remember to fine tune any details like the shoulders and the doll head.
Add has many clay you want to create the skirt.
Make sure there is no aluminum foil or glass bottle expose.
To create the fabric portion of the sculpture start with your Paverpol Cotton
Or cheese cloth package and lets get it ready to hand dye.
Use your favorite method or use the Rit dye Aquamarine.
And Rit Fushia and yellow dyes.
Now always make sure you follow the manufacturer instructions.
Example of 2 pieces of the same dye cotton results.
For a richer tone of color its needs to be left longer in the dye bath.
Make sure you wash it all the excess dye away so it do not leak into your clear Paverpol.
Let the fabric dry ot iron it dry.
Measure the length you want your doll dress and cut 3 pieces the same size.
For easier application of the fabric dress.
I recommend to have the sewing part done while it is dry.
Sewn all 3pieces and wrap it around the waist to measure the length.
Secure the stich to the correct size of the doll waist and cut any excess thread away.
Cut all the other pieces and have them all ready side by side.
This will facilitate the application process once your ready to open the clear
Paverpol for this doll dress.
Never work the Paverpol directly from the container.
Find a nice air tight plastic container were you can pour some clear Paverpol.
This will ensure you don't waste any product and it is a lot easier to handle too.
Not to mention the hand dye fabrics some time leech color to the Paverpol.
You don't want to have the color mix with and ruin any future projects.
Cut to size all the fabric before you add the Paverpol. This will ease the application and you will not glue your scissors shut once the Paverpol dry. Now if you need to cut any fabric while the fabric has been soak in the Paverpol I recommend you wash them right away or they will be glued shut.
Note: The Paverpol is and amazing strong adhesive and it can ruin them so always use a spare pair not your favorite fabric scissors
If you find the Paverpol too thick you can thin it a little with water. I find easier to work with a little thinner. Now have in mind the more water you add the less stiff the fabric will be. If you want a solid application don't use too much water and make sure you squeeze any excess
Paverpol out before adding it to the doll.
Soak all the cut strips of fabric and one by one remove all the excess with your fingers. Apply each one to the upper portion of the doll by wrapping them to the Creative Paperclay like a mummy.
Little by little add more fabric and layer the wraps to cover all the clay and create the dress.
To make sure the fabric is very stiff and it will hold the shape.
Use a old paint brush and add more Paverpol to the fabric in between wrappings.
Apply the fabric and wrap the upper portion of the doll like is shown in this photo and use the brushing thicker Paverpol technique.
This will hold securely in place all the new layers all in one place.
Add each layer in with the wrapping style.
Around the front and back of the doll always crossing the front and back.
Each new layer of fabric add more clear thicker Paverpol with the brush.
Using the same wrapping and brushing proceed to the hands.
Leave some excess Paverpol soaked fabric at the end of the hands to create and nice flowing sleeves sculpt effect.
Add some wraping and cover around the doll neck. Adjust and secure it with more thick Paverpol. Brush the fabric and sculpt it in place with the thicker Paverpol.
Now soak all the blue sewn piece and squeeze any excess Paverpol out.
Wrap the entire blue piece around the doll waist and shape it to you like.
Soak now the yellow piece of fabric and remove any excess Paverpol.
Apply it to the doll head and with the brush, fingers and the help of a pencil give the fabric the flow and movement you want your doll to have.
To form and secure the blue dress in lace add a strip of the pink under the breast around the waist.
Knot it in place and shape the fabric open.
Add you favorite selection of buttons to the doll while the piece still wet.
Use thick Paverpol mix to each button piece before applying it to the dress.
Adding thick Paverpol will ensure a proper button adhesion to the final art doll.
Sprinkle some of you favorite glitter to the piece while the Paverpol still wet.
The glitter will be secure better this way, because it will stick and pool over more to the Paverpol soaked fabric creases.
If you want your doll dress to flow and look free sculpt over a plastic paper plate or cover the laying surface with plastic.
To create a nice flow effect easier use a rolling turn table or lazy susan.
Add all the buttons every where you want.
There is no wrong way to do this so feel free to have fun gluing them to the skirt of the art doll.
Once you are happy on how the Paverpol soaked fabrics look set it aside to dry over night.
Next morning use a little brush and skin color acrylic paint to the dolls head.
Once the Paverpol soaked fabric dries you will love the ending beautiful sculpted super strong solid fabric dress. Every single button is also secure in place.
It looks amazing good. The Paverpol will make the fabric look richer in color too. I love it.
Well I hope you enjoy the full step by step tutorial.
Please stay tune and follow #paverpol or @bygloricom #bygloricom for many more tutorials, ideas and creative tips soon available.
Remember always have fun crafting!
Sincerely,
Gloriann Irizarry
@bygloricom
#bygloricom