Showing posts with label paperclay. Show all posts

Monday, August 15, 2016

Yoga Tree Pose

WOW! what a project…over 60 hours and I enjoyed every minute!

You can (talking to myself) research until you've memorized every tutorial on a product, but until you are up to your elbows in Paverpol, you won't figure out what works best for your particular project. I love scupture, so I wanted to do my own body. I decided to use Creative PaperClay since I hadn't used it before.

There is a full process video on my YouTube channel…it will be live in a few hours and I'll edit with the link here. Below are some step-out instructions.

STEP ONE:

Using a macrame ring and a circular piece of styrofoam, I made my base. When it broke into two halves, I ended up gluing and taping it to hold and left for a few days to cure.


STEP TWO:

The armature was a new one for me, too. It involved a left and right side, hand to foot. R and L mirror each other, with a bend for the shoulder, elbow, hip, knee and foot. Then a length of 16 gauge wire folded in half to form a head. The remaining wire wraps around the spine area of the left and right pieces. Viol å! A body! Now all I had to do was form the flesh and muscles.


STEP THREE:

Using aluminum foil and masking tape I started with the head. Remember to leave room for it getting bigger with the clay! I took my time with the features, learning how the clay worked for the result I wanted. Mine turned out a bit too big, but isn't that noticeable. Is it?


Now for the body. Foil and tape, then formed with clay. I modeled the position of the body as the clay setup. Working in stages, her waist developed a crack because I was not finished with the legs. I decided to anchor the foot to the opposite knee so it could stabilize.


After curing, I put a small piece of masking tape around the crack. Mixing some of the clay with water, I made a slurry. About the consistency of heavy cream, then I could brush on a thin layer to smooth out some of her lumps and bumps. After curing this time, I took to her with my Sand-It tools and dry sanded her.


STEP FOUR:

I brushed bronze Paverpol all over her body. I got a very smooth finish this way and was very pleased.


STEP FIVE:

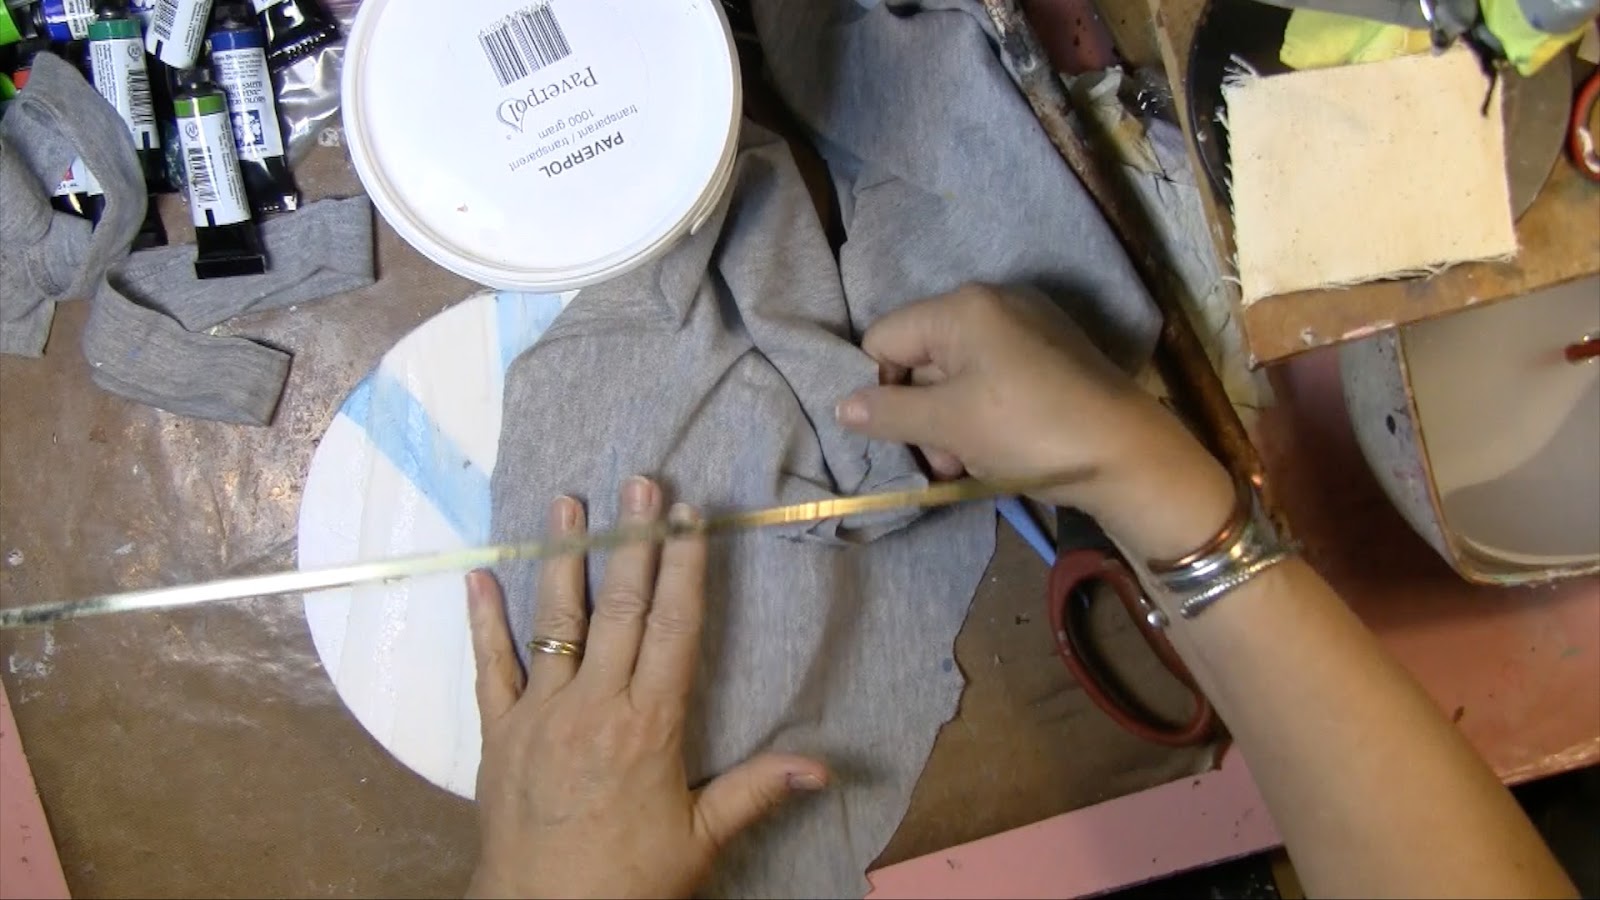
Back to the base. I started with muslin strips and transparent Paverpol. That became an exercise in futility, so after it cured, I took an old grey t-shirt and used the sleeves to cover the base with two pieces. Added bonus is that the grey cloth turned a granite color when cured.


STEP SIX:

I started with a piece of cotton shop towel (Sam's Club Scott brand "Rags"). These are heavy duty and have no embossed pattern. I wanted to make it look like Yoga clothes. Using the transparent Paverpol again, I tinted it with ColourArte Primary Elements. I painted her body, formed the cloth, then painted a coat on top of the cloth, encouraging wrinkles wherever I could.


For her top, I used a piece of leftover cloth that had been tinted with wipe ups. It had the same color, but in a more tie-dyed pattern. I formed her top the same way, and coated her on top with transparent Paverpol.

With a coral crochet thread, I made a rope to tie around her waiste, and brushed it with the transparent Paverpol. I then used a single thread to decorate her top.

STEP SEVEN:

I made a braid with the clay because I wanted her braid to be on the outside of her top. When it cured, I painted it with Bronze Paverpol to match her body.


STEP EIGHT:

Looking through my stash, I found a spool of smoky blue wired ribbon. It was twisted under her extended leg and through her arms. It will be coated with transparent Paverpol and will wrap around the brass ring. With the remaining blue Paverpol, I plan to put a stencil on the base and age it to look weathered. I want a few days to resolve these last details.


No point in rushing her now!

xxoo
Vicki
all my social media links are at www.VickiRossArt.com. I welcome comments and lurkers!


Tuesday, March 15, 2016

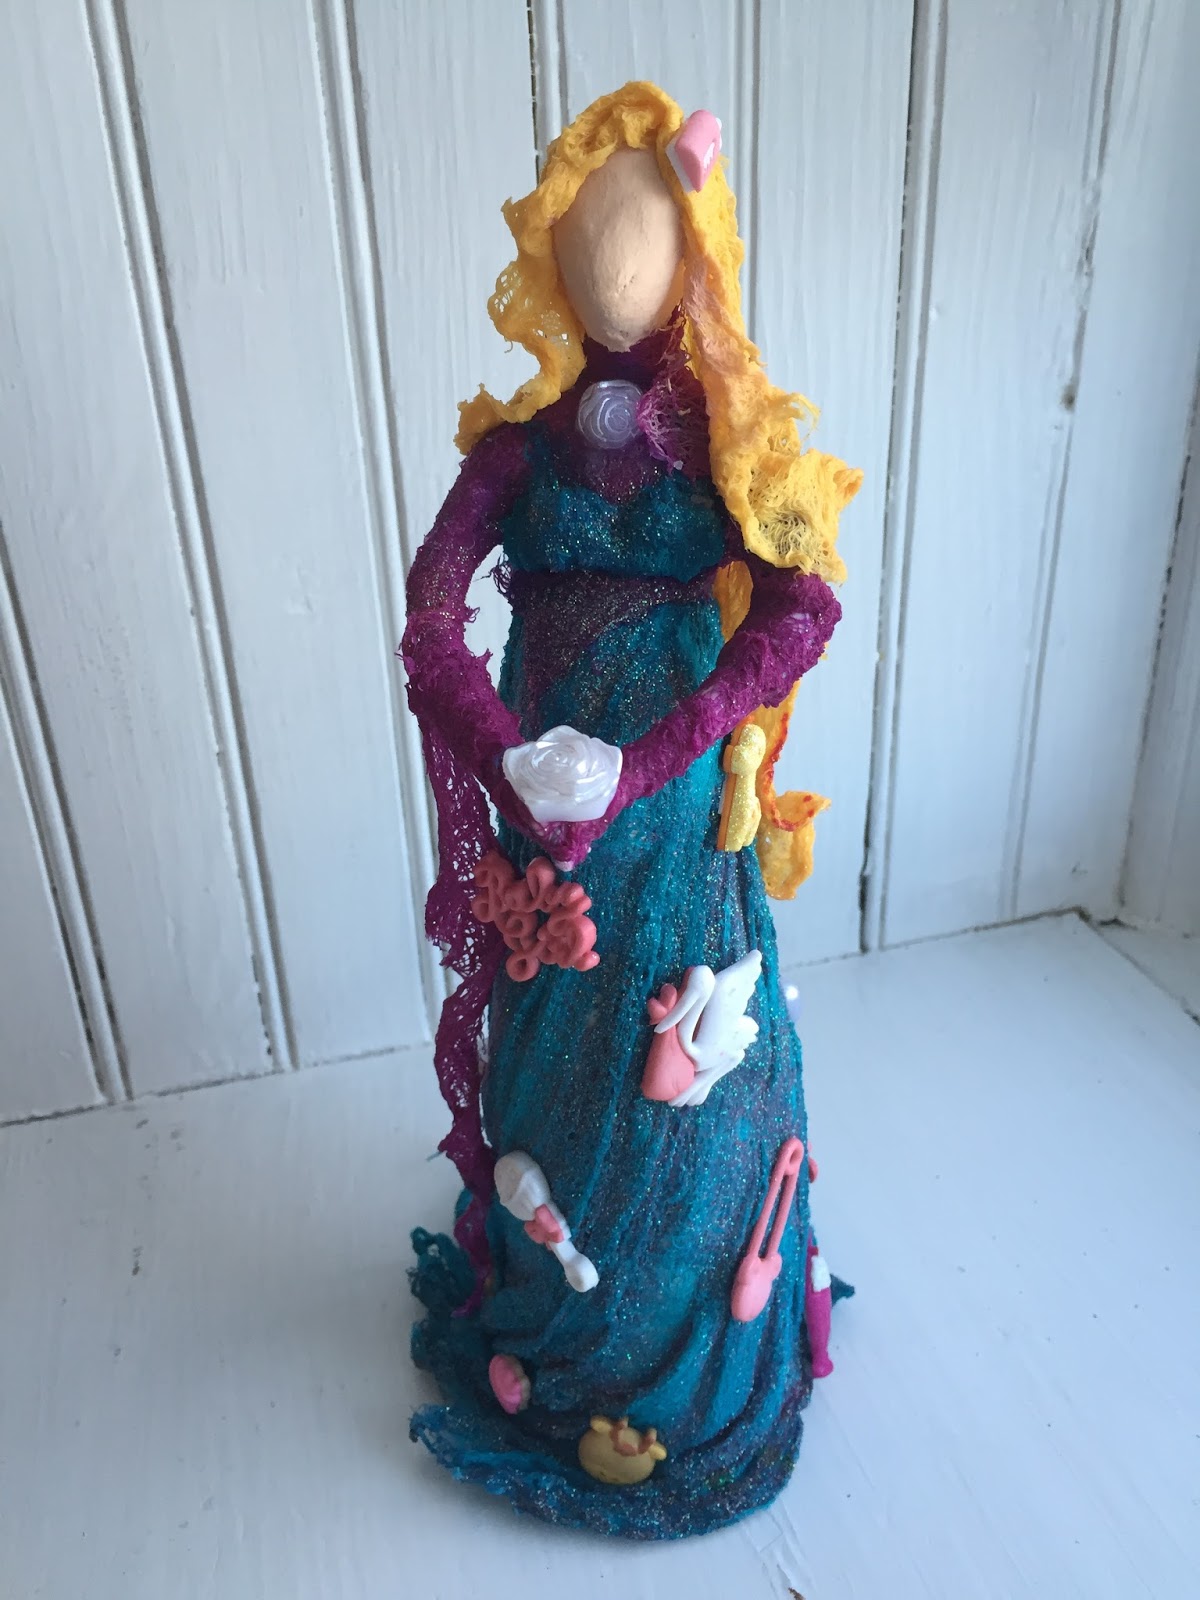
Expecting Mom Paverpol Art Doll By Gloriann Irizarry

 Expecting Mom Paverpol Art Doll
By Gloriann Irizarry


 Material List

Paverpol Clear®
Creative Paperclay®
Sparkling Apple Cider Glass bottle
Its a Girl Buttons and Findings
Paverpol Cotton Fabric
Cheese Cloth Fabric
Rit Aquamarine Dye
Rit Fushia Dye
Aluminum Foil
Scissors
Wooden Dowels
Stainless Steel Wire 16g
Martha Stewarts Pink Glitter
Needles
Thread


Start with a clean and empty glass bottle. It can be any of your favorite drink has long it has a long neck and is made out of glass. For this project I use a small apple glass cider bottle. Feel free to choose your size. The bottle size will determine the size of your project art doll.
 
 
Open the package of Creative Paperclay® and roll it to a 1/4 thickness sheet. 

 
Cover the entire empty glass bottle with the 1/4 thick rolled out Creative Paperclay® sheet.
Insert the wooden dowel to support the upper part of the doll. Set aside to dry. 


so we do not waste to much material on the upper part of the doll body or make it too heavy of a piece lets make an simple armature. Cut strips of aluminum foil.
Cutting strips make it a lot easier to add to the wooden dowel.
 
 
Start wrapping them to the wooden dowel so the upper portion of the art doll start taking place.  
 
 
Cut only one piece of stainless steel wire to the desire length for your doll hands.
Then roll it like show in this photo to secure it with the wooden dowel.
Insert in the dowel and tighten secure with the pliers.
  
 
Use more aluminum foil strips to complete the shape of the chest.
 
 
Add more aluminum foil around the shoulders and create the head.
Add more aluminum strips around the belly portion too to mold and shape the doll pregnant belly. 
 
 
Roll the Creative Paperclay® in to 1/4 thickness sheets and cover all the aluminum foil shapes.
Set the art doll aside to dry.
 
 
Add another sheet of Creative Paperclay® to carefully  cover any expose foil.
 
Check the figure for any cracks or exposes areas and once more cover the piece with more Creative Paperclay®. Remember to fine tune any details like the shoulders and the doll head.
 
 
Add has many clay you want to create the skirt.
Make sure there is no aluminum foil or glass bottle expose.


To create the fabric portion of the sculpture start with your Paverpol Cotton
 
 
Or cheese cloth package and lets get it ready to hand dye.
 
 
Use your favorite method or use the Rit dye Aquamarine.

 
And Rit Fushia and yellow dyes.
 Now always make sure you follow the manufacturer instructions.
 
 
Example of 2 pieces of the same dye cotton results.
 For a richer tone of color its needs to be left longer in the dye bath.
Make sure you wash it all the excess dye away so it do not leak into your clear Paverpol.
Let the fabric dry ot iron it dry.


Measure the length  you want your doll dress and cut 3 pieces the same size.

 
For easier application of the fabric dress.
 I recommend to have the sewing part done while it is dry.

 
Sewn all 3pieces and wrap it around the waist to measure the length.
Secure the stich to the correct size of the doll waist and cut any excess thread away.

 
Cut all the other pieces and have them all ready side by side.
This will facilitate the application process once your ready to open the clear
 Paverpol for this doll dress.
 

Never work the Paverpol directly from the container.
Find a nice air tight plastic container were you can pour some clear Paverpol.
This will ensure you don't waste any product and it is a lot easier to handle too.
Not to mention the hand dye fabrics some time leech color to the Paverpol. 
You don't want to have the color mix with and ruin any future projects.


Cut to size all the fabric before you add the Paverpol. This will ease the application and you will not glue your scissors shut once the Paverpol dry. Now if you need to cut any fabric while the fabric has been soak in the Paverpol I recommend you wash them right away or they will be glued shut.
 
Note: The Paverpol is and amazing strong adhesive and it can ruin them so always use a spare pair not your favorite fabric scissors
 
 
If you find the Paverpol too thick you can thin it a little with water. I find easier to work with a little thinner. Now have in mind the more water you add the less stiff the fabric will be. If you want a solid application don't use too much water and make sure you squeeze any excess
 Paverpol out before adding it to the doll.


Soak all the cut strips of fabric and one by one remove all the excess with your fingers. Apply each one to the upper portion of the doll by wrapping them to the Creative Paperclay like a mummy.
 Little by little add more fabric and layer the wraps to cover all the clay and create the dress.

 
To make sure the fabric is very stiff and it will hold the shape.
 Use a old paint brush and add more Paverpol to the fabric in between wrappings.


Apply the fabric and wrap the upper portion of the doll like is shown in this photo and use the brushing thicker Paverpol  technique.
This will hold securely in place all the new layers all in one place.

 
Add each layer in with the wrapping style.

 
Around the front and back of the doll always crossing the front and back.

 
Each new layer of fabric add more clear thicker Paverpol with the brush.

 
Using the same wrapping and brushing proceed to the hands.

 
Leave some excess Paverpol soaked fabric at the end of the hands to create and nice flowing sleeves sculpt effect.

 
Add some wraping and cover around the doll neck. Adjust and secure it with more thick Paverpol. Brush the fabric and sculpt it in place with the thicker Paverpol.

 
Now soak all the blue sewn piece and squeeze any excess Paverpol out.
Wrap the entire blue piece around the doll waist and shape it to you like.
 
 
Soak now the yellow piece of fabric  and remove any excess Paverpol.
Apply it to the doll head and with the brush, fingers and the help of a pencil give the fabric the flow and movement you want your doll to have.
 
 
To form and secure the blue dress in lace add a strip of the pink under the breast around the waist.
Knot it in place and shape the fabric open. 
 
 
Add you favorite selection of buttons to the doll while the piece still wet.
Use thick Paverpol mix to each button piece before applying it to the dress.
 Adding thick Paverpol will ensure a proper button adhesion to the final art doll.

 
Sprinkle some of you favorite glitter to the piece while the Paverpol still wet.
The glitter will be secure better this way, because it will stick and pool over more to the Paverpol soaked fabric creases.

 
If you want your doll dress to flow and look free sculpt over a plastic paper plate or cover the laying surface with plastic.
 
 
To create a nice flow effect easier use a rolling turn table or lazy susan.

 
Add all the buttons every where you want.
There is no wrong way to do this so feel free to have fun gluing them to the skirt of the art doll. 
Once you are happy on how the Paverpol soaked fabrics look set it aside to dry over night.
 
 
Next morning use a little brush and skin color acrylic paint to the dolls head.


Once the Paverpol soaked fabric dries you will love the ending beautiful sculpted super strong solid fabric dress. Every single button is also secure in place.
It looks amazing good. The Paverpol will make the fabric look richer in color too. I love it.
 
Well I hope you enjoy the full step by step tutorial.
 Please stay tune and follow #paverpol or @bygloricom #bygloricom for many more tutorials, ideas and creative tips soon available.
 
Remember always have fun crafting! 
Sincerely,
 
 
Gloriann Irizarry
@bygloricom
#bygloricom