Showing posts with label Bronze. Show all posts

Monday, August 15, 2016

Yoga Tree Pose

WOW! what a project…over 60 hours and I enjoyed every minute!

You can (talking to myself) research until you've memorized every tutorial on a product, but until you are up to your elbows in Paverpol, you won't figure out what works best for your particular project. I love scupture, so I wanted to do my own body. I decided to use Creative PaperClay since I hadn't used it before.

There is a full process video on my YouTube channel…it will be live in a few hours and I'll edit with the link here. Below are some step-out instructions.

STEP ONE:

Using a macrame ring and a circular piece of styrofoam, I made my base. When it broke into two halves, I ended up gluing and taping it to hold and left for a few days to cure.


STEP TWO:

The armature was a new one for me, too. It involved a left and right side, hand to foot. R and L mirror each other, with a bend for the shoulder, elbow, hip, knee and foot. Then a length of 16 gauge wire folded in half to form a head. The remaining wire wraps around the spine area of the left and right pieces. Viol å! A body! Now all I had to do was form the flesh and muscles.


STEP THREE:

Using aluminum foil and masking tape I started with the head. Remember to leave room for it getting bigger with the clay! I took my time with the features, learning how the clay worked for the result I wanted. Mine turned out a bit too big, but isn't that noticeable. Is it?


Now for the body. Foil and tape, then formed with clay. I modeled the position of the body as the clay setup. Working in stages, her waist developed a crack because I was not finished with the legs. I decided to anchor the foot to the opposite knee so it could stabilize.


After curing, I put a small piece of masking tape around the crack. Mixing some of the clay with water, I made a slurry. About the consistency of heavy cream, then I could brush on a thin layer to smooth out some of her lumps and bumps. After curing this time, I took to her with my Sand-It tools and dry sanded her.


STEP FOUR:

I brushed bronze Paverpol all over her body. I got a very smooth finish this way and was very pleased.


STEP FIVE:

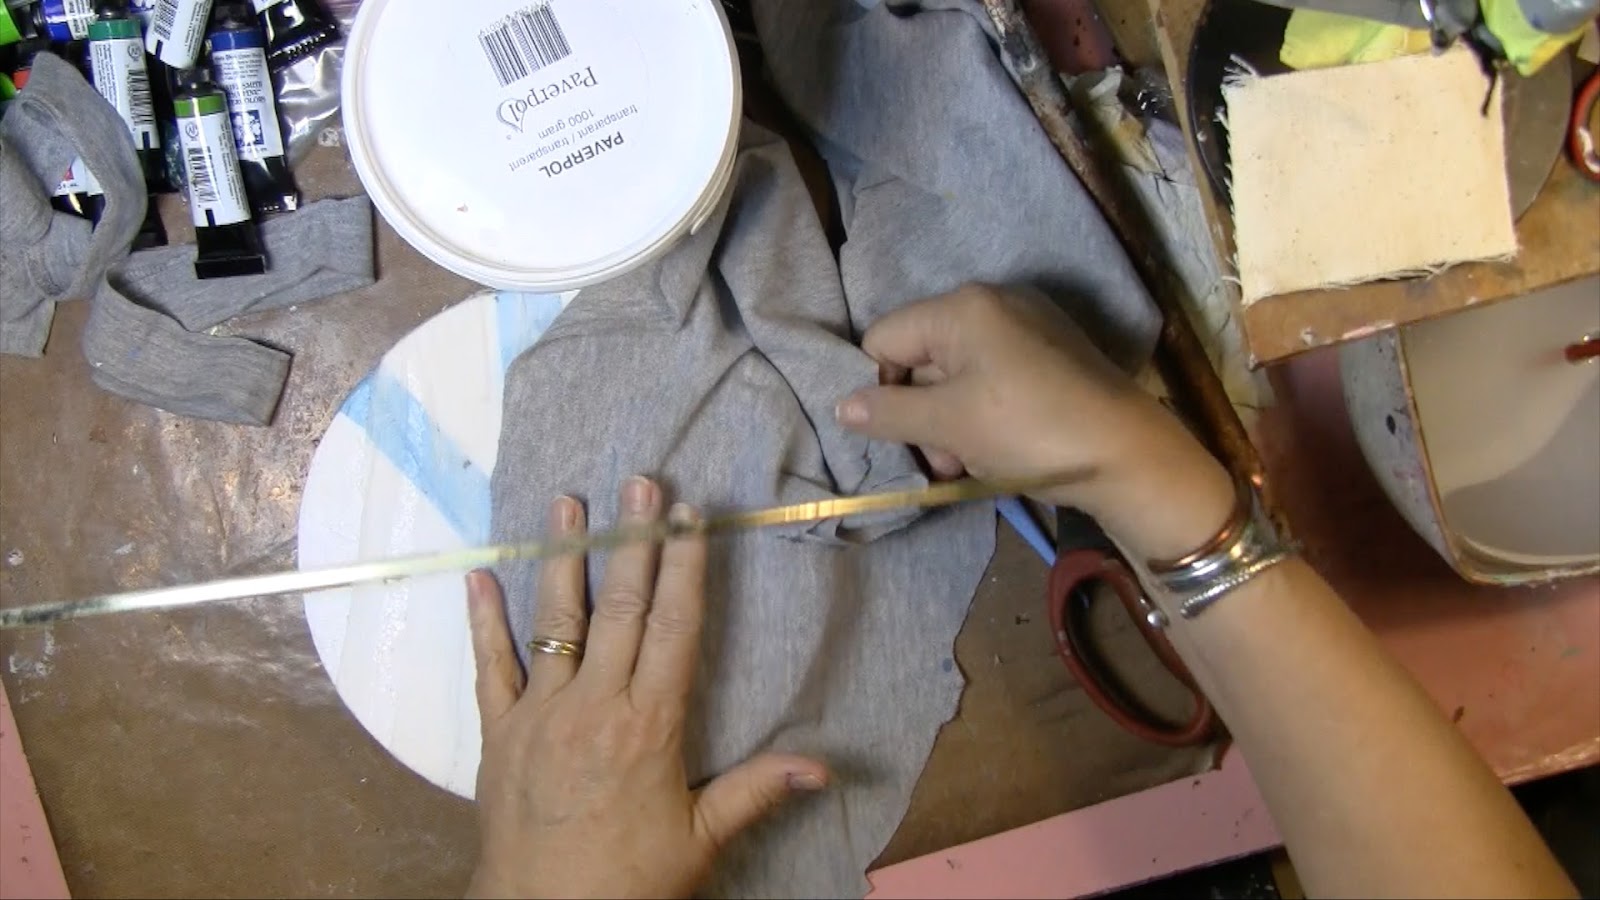
Back to the base. I started with muslin strips and transparent Paverpol. That became an exercise in futility, so after it cured, I took an old grey t-shirt and used the sleeves to cover the base with two pieces. Added bonus is that the grey cloth turned a granite color when cured.


STEP SIX:

I started with a piece of cotton shop towel (Sam's Club Scott brand "Rags"). These are heavy duty and have no embossed pattern. I wanted to make it look like Yoga clothes. Using the transparent Paverpol again, I tinted it with ColourArte Primary Elements. I painted her body, formed the cloth, then painted a coat on top of the cloth, encouraging wrinkles wherever I could.


For her top, I used a piece of leftover cloth that had been tinted with wipe ups. It had the same color, but in a more tie-dyed pattern. I formed her top the same way, and coated her on top with transparent Paverpol.

With a coral crochet thread, I made a rope to tie around her waiste, and brushed it with the transparent Paverpol. I then used a single thread to decorate her top.

STEP SEVEN:

I made a braid with the clay because I wanted her braid to be on the outside of her top. When it cured, I painted it with Bronze Paverpol to match her body.


STEP EIGHT:

Looking through my stash, I found a spool of smoky blue wired ribbon. It was twisted under her extended leg and through her arms. It will be coated with transparent Paverpol and will wrap around the brass ring. With the remaining blue Paverpol, I plan to put a stencil on the base and age it to look weathered. I want a few days to resolve these last details.


No point in rushing her now!

xxoo
Vicki
all my social media links are at www.VickiRossArt.com. I welcome comments and lurkers!


Monday, August 1, 2016

Enlightened One

The Enlightened One was in my brain one morning when I woke up. Every step was clear as a bell…and as an artist with several media under my belt, I knew better than to expect it to turn out just like envisioned!


There is an accompanying video HERE, and I suggest you watch for more in-depth explanation of my process. I will do a step-out with still images below.

Materials:
PaverPol Bronze
1/4-1/3 yd Gauze fabric (yard goods like diapers used to be made of)
Strofoam base any size or shape
Activ-Wire Mesh 24" x 4"
1" crystal or other ball for head.
18 gauge (-ish) for backbone of figure, wrapped with floral or masking tape
6" or so Fine gauge copper wire

STEP ONE:


Trim the piece of Activ-Wire Mesh to be 2" at the bottom and 4" at the shoulders. Regular craft scissors will work. Fold in 1" on each ene to fold under for attachment to the base.

STEP TWO:


Cut piece of gauze fabric to fit base. I used one piece to wrap around the entire base, but you can accomplish the same thing with smaller pieces. OR, you can cut small pieces and collage on. You will want to let them dry fully before doing the back side.

I poured the well-stirred Bronze PaverPol into a smaller cup to keep from contaminating the main bucket. You can dip the entire strip in the small bucket, or brush it on. Another tip is to fold it in half, using your clean hand to hold the end, and the other to dip, wad, squeeze the fabric until it is saturated. Any white spots can be dealt with later.

Wrap the fabric around the base. This part requires patience because it takes the PaverPol :30 or so to start getting tacky. In the meantime, keep manipulating it until you get it to stay. Use any kind of tool dipped in water to help remove your fingers from the fabric. Set the base aside to dry. I put mine on a plastic cup so it would be easy to remove when dry. A non-stick mat will also release the dried base.

STEP THREE:


Cut a strip of fabric the length of the wire and wide enough to wrap around it. Saturate this piece of fabric and lay out flat on your work surface. Place the Activ-Wire Mesh centered on top of the fabric. Next, begin to fold the fabric over the mesh, and place the covered wire in the center.

In retrospect, it would be easier to anchor the wire to the mesh because I had issues with it moving around. Masking tape might work, or you could brush it with PaverPol and wait for it to dry. I was elbow deep in PaverPol before I discovered this challenge!

STEP FOUR:


Fold in the bottom 1" ends and overlap. I had to finesse the wire, but again was in no position to regroup, so I had issues with the ends of the wire. A better solution would be to insert the wire ends through the fold of the mesh. Then wrap the fabric. This way the wires could be inserted into the base for a bit more stability.

I used some scraps of fabric that were already saturated in PaverPol to anchor the base.

STEP FIVE:


I immediately stood the statue upright. Again, it would be easier to let the fabric set up at least :30 laying flat, but I was afraid it would harden too quickly. It won't. Had mine been set up before I bent it, the fabric would not have drooped on the inside. I kept helping it dry with a heat gun and wet plastic tools until it would adhere to itself.

The result was OK, even though I had envisioned completely smooth fabric inside and out.

STEP SIX:


Using the end of scissors, I poked two holes in the top of the form. Using the copper wire, I put it through the existing hole on the chandelier crystal and down through the shoulders of the form and twisted it to hold. I used PaverPol to anchor the head. It had to be supported until set.

Of course, I made a mess on the crystal. I was able to scrape it the next day using a craft knife. Take a bit more time with the crystal and try not to get PaverPol on it.

BONUS:


Keep all the dried PaverPol skins from your hands and work surface. They will be great in a future project.

ENJOY!

xxoo
Vicki Ross
www.VickiRossArt.com for all my social media links